When choosing the "Drill Holes for Surface Mounting" option or a surface mount address block we will drill 1/4" dia. by 3/4" deep "blind" holes in the back of the address block and include two threaded steel rods for mounting.
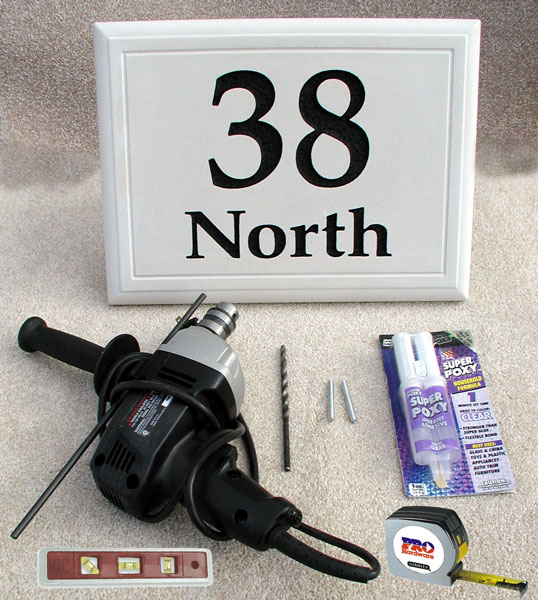
| You will need the following items to complete installation: 1. Drill (Hammer Drill Recommended) 2. 1/4" Masonry Drill Bit 3. Tape Measure 4. 2-part Epoxy (quick setting recommended) 5. 2 1/2" threaded pins (included) 6. Level (optional) |
|
|
|
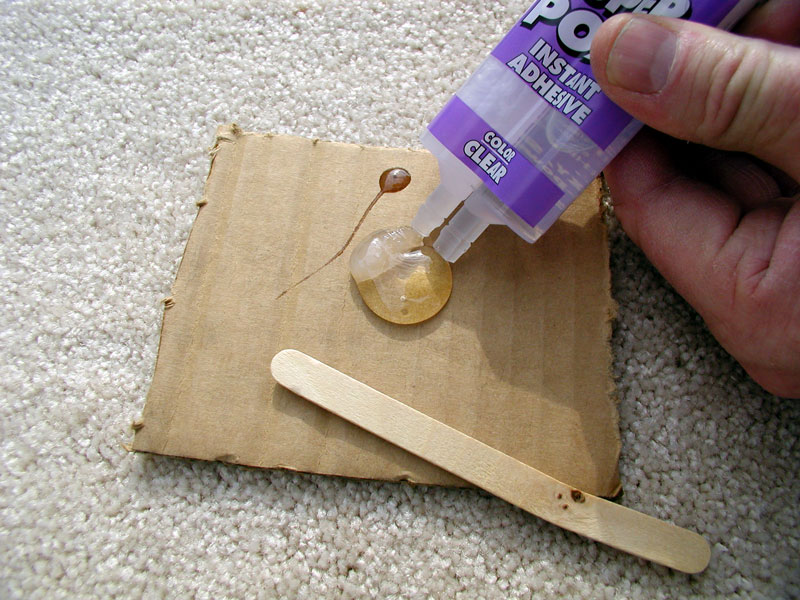
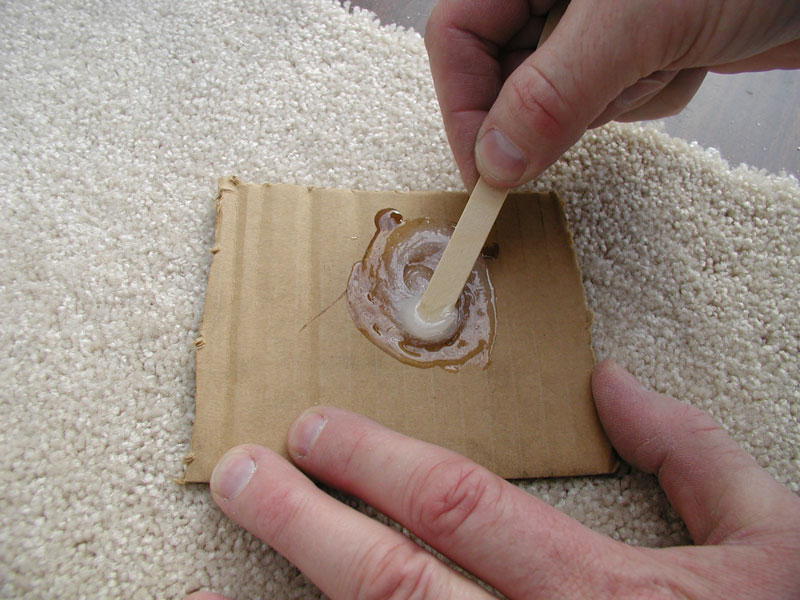
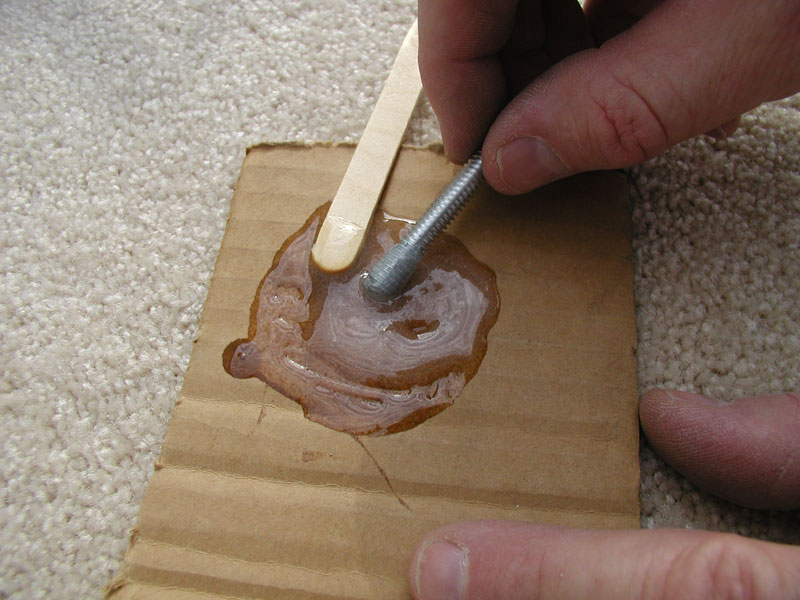
Step #1: Mixing Epoxy
Mix approx. 1 tablespoon of the 2-part epoxy, following manufacturers instructions. |
Step #2: Attaching Pins Coat one end of each 2 1/2" threaded pin with epoxy. |
|
|
|
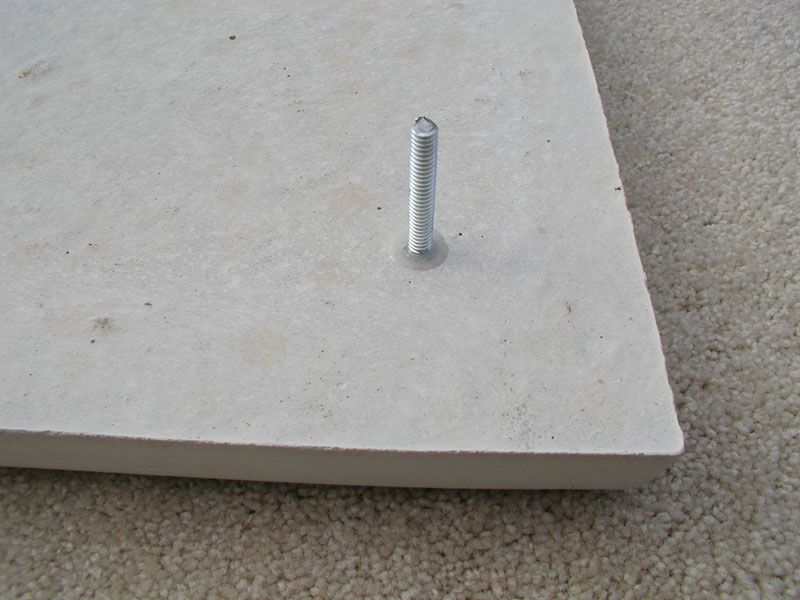
Step #3: Curing Epoxy
Allow epoxy to cure according to manufacturers directions. |
| Step #4: Removing Existing House Numbers
Remove existing house numbers. |
|
|
|
Step #5: Determine New Address Block Location Determine New Address Block Location |
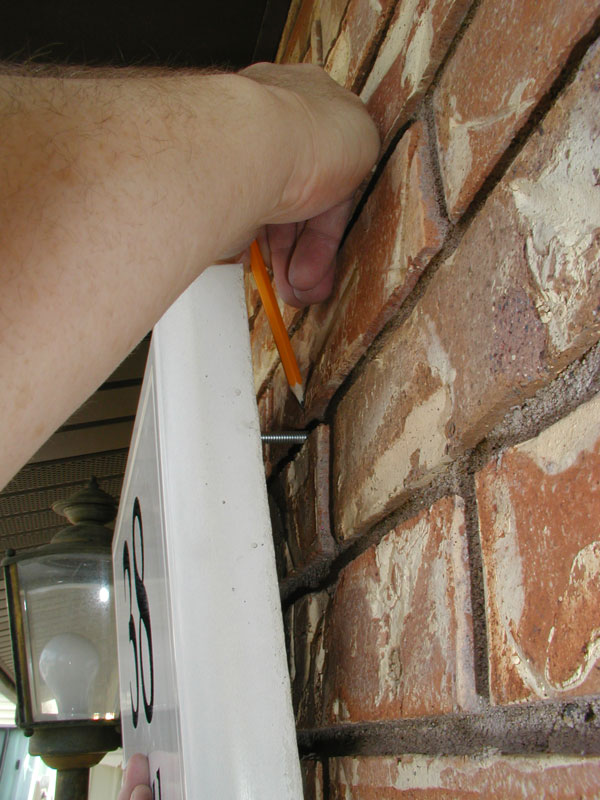
| Step #6: Marking the First Hole
While holding the address block in the desired position, mark the location of one of the mounting pins. |
|
|
|
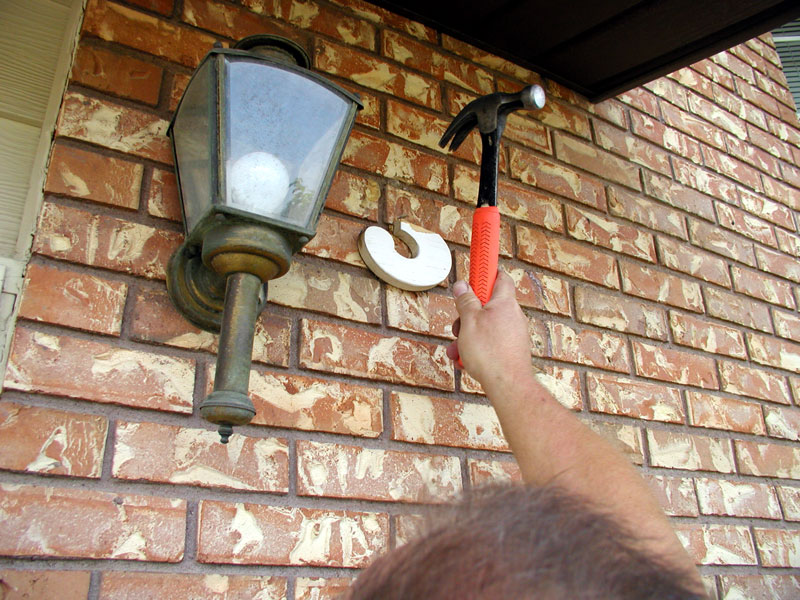
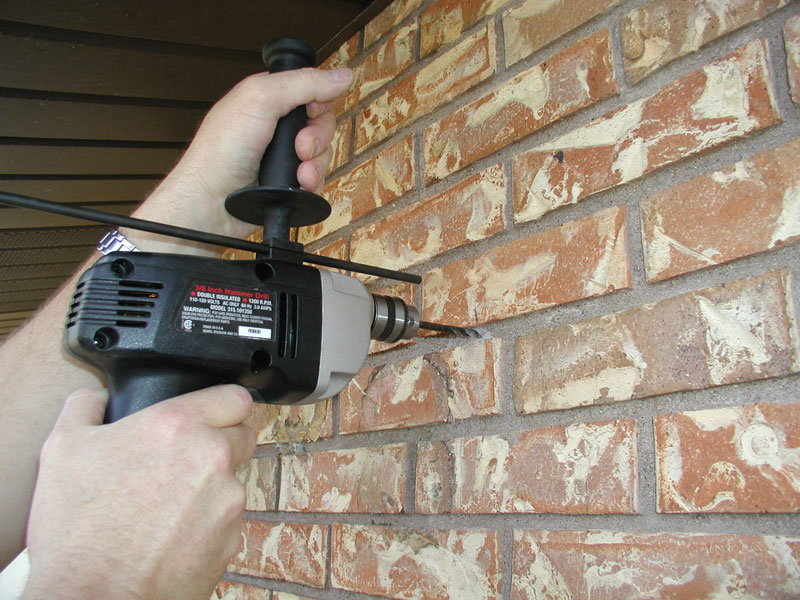
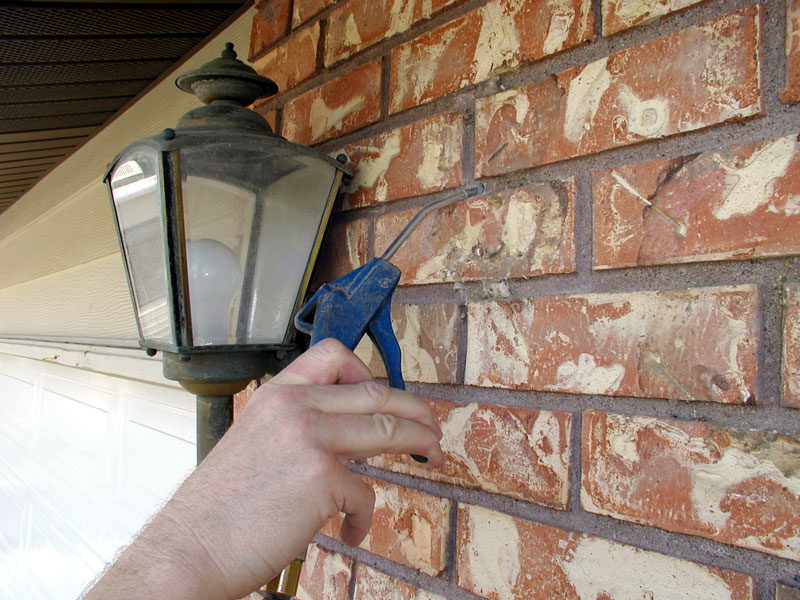
Step #7: Drilling First Hole
Using a hammer drill and 1/4" masonry bit, drill hole in the location marked previously (depth of approx. 1 1/2"). |
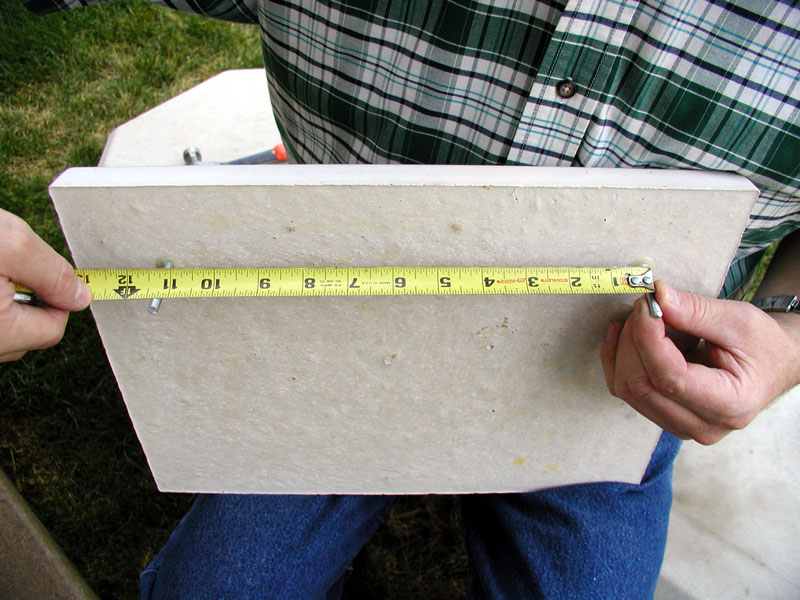
| Step #8: Measuring Distance Between Pins
Using a tape measure, measure the distance center to center of the pins mounted in the address block. |
|
|
|
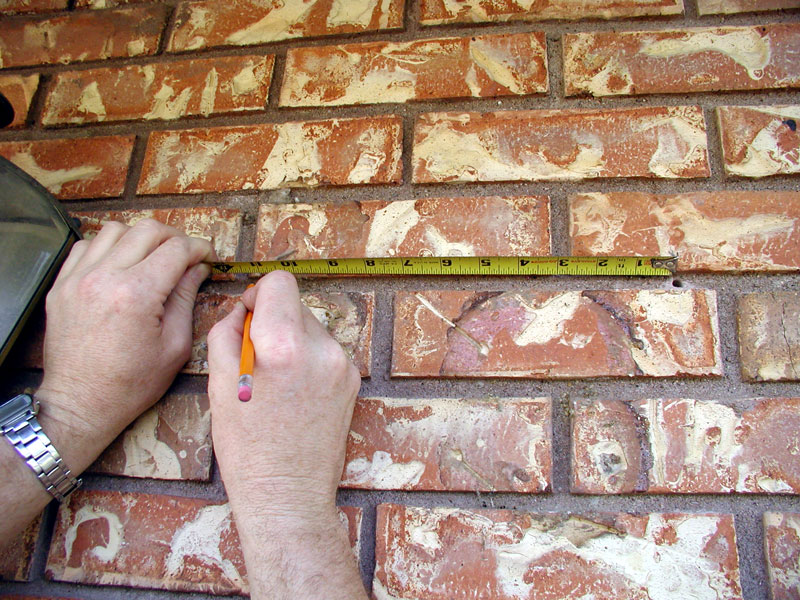
Step #9: Marking the Second Hole
Using the measurement obtained in the previous step, mark the location for the second hole, insuring that the address block will be level. |
| Step #10: Drilling Second Hole
Using a hammer drill and 1/4" masonry bit, drill hole in the location marked previously (depth of approx. 1 1/2"). |
|
|
|
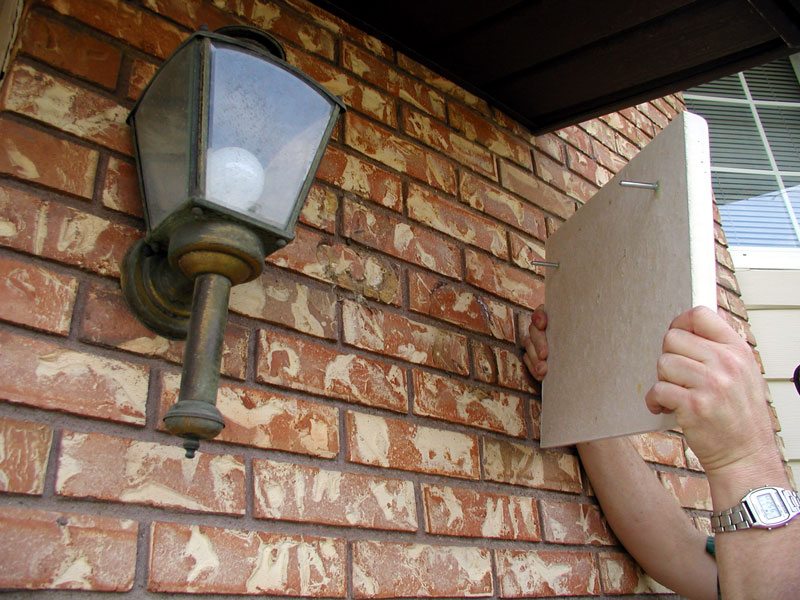
Step #11: Check for Proper Alignment
Hold address block to wall, and check for hole alignment with pins. |
| Step #12: Remove Dust From Holes
Using an air blower or vacuum, remove the dust from the holes to ensure proper bonding. |
|
|
|
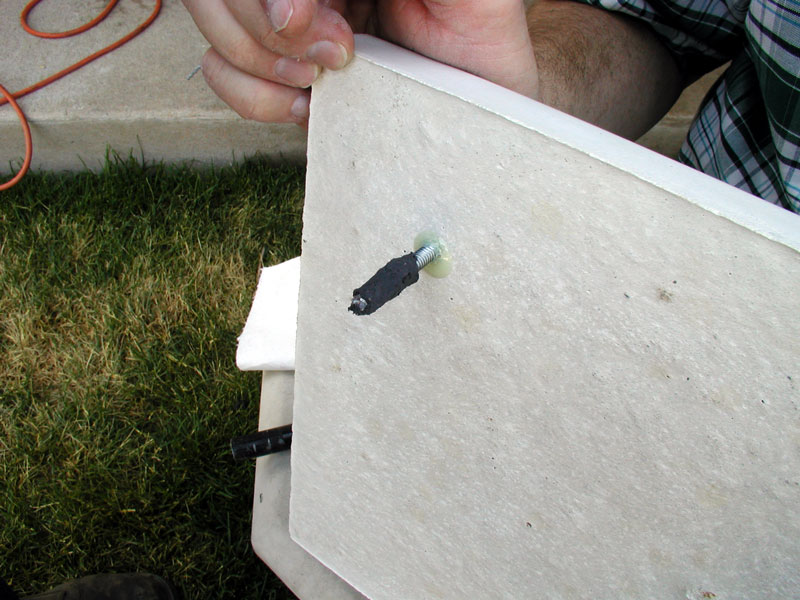
Step #13: Apply Epoxy to Pins
Using either 2-part liquid or kneadable epoxy, apply liberally to the two pins. |
| Step #14: Final Installation
Put block in place, carefully aligning pins with the holes. |
|
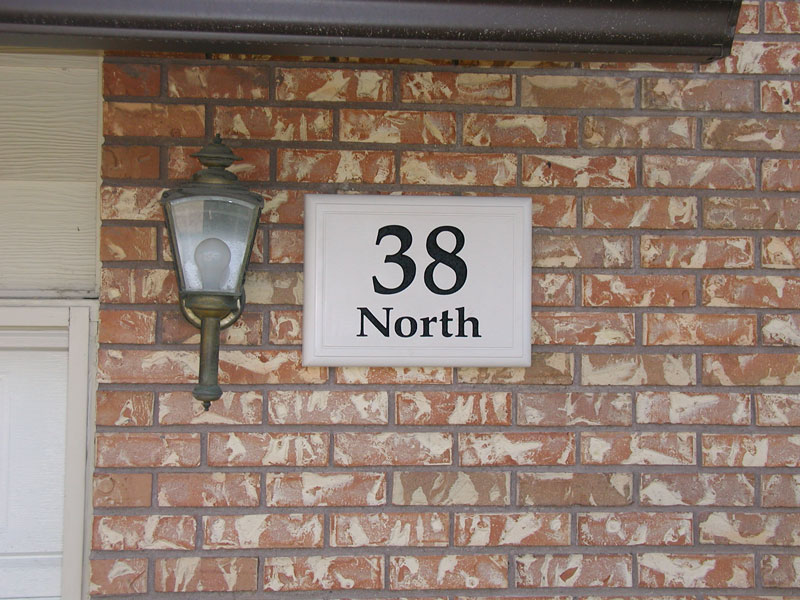
Before
|
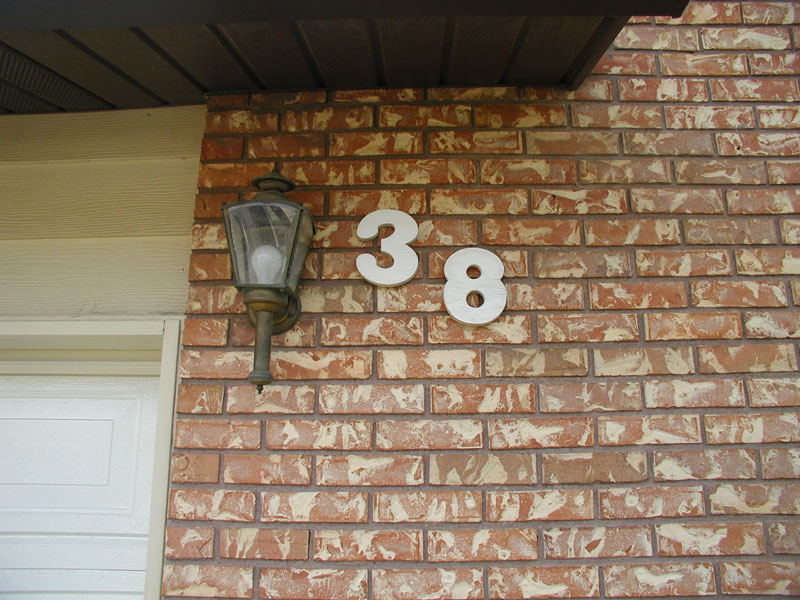
After
|